checklist
What exactly should I check in a pattern PDF before I put it up for sale?
A release check covers test square accuracy, layer behavior, fonts, page order, cut counts, yardage math and version stamping. Each item catches a failure that is expensive to fix later.
Check eight things, in this order: the test square measures correctly on two different printers, the layers turn on and off without orphaning a line, the fonts are embedded or outlined, the page order matches the assembly map, every piece carries a cut count and a grainline, the yardage and finished measurement tables agree with the graded pieces, the version number and date are printed inside the file, and you have taped together a full copy yourself.
None of that is glamorous. All of it is cheaper than the alternative, which is a refund thread on launch day and a corrected file you push out at eleven at night while apologizing in three places at once.
What follows is the working order. Each item exists because it catches a specific failure, and the failures get more expensive the further down the list they slip.
Test square and scale verification on two printers
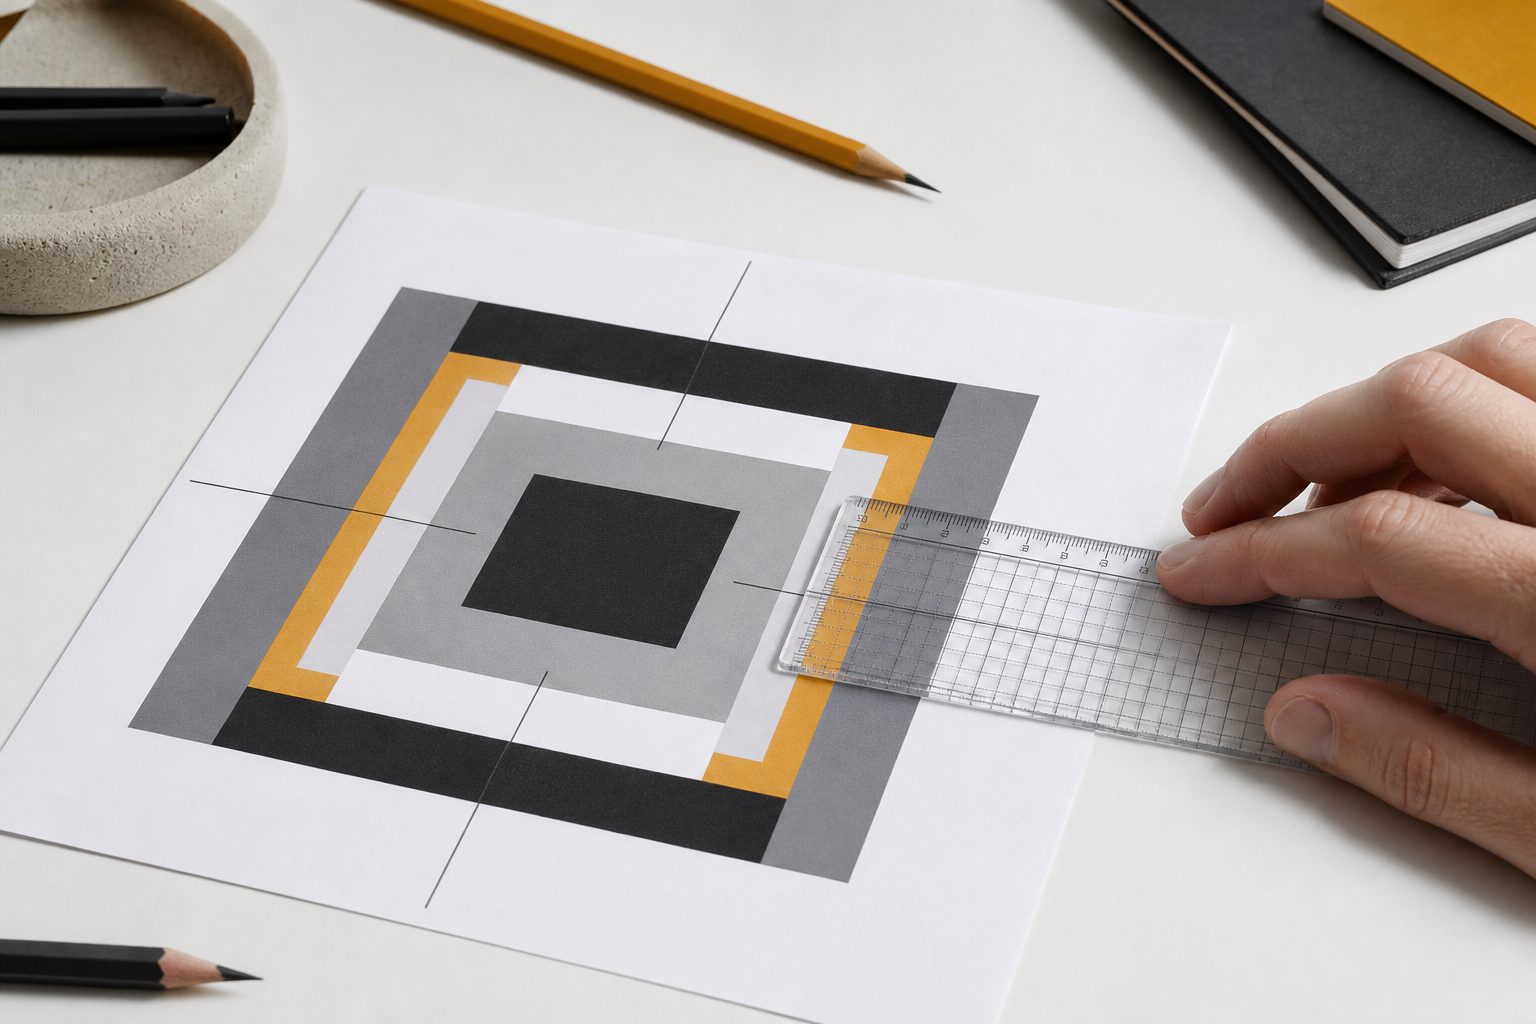
The one inch or four inch test square is the only thing standing between your customer and a garment two sizes off. It fails for a reason that has nothing to do with your drafting: print dialogs default to fit to page, and letter paper printed at 97 percent looks perfectly normal until someone measures it.
Print the test square page on at least two machines. A home inkjet on letter, and a copy shop print on the large format size you support. If you sell A4 and A0 versions, print those too, or find someone in your tester group who will and send you a photo with a ruler on it.
Measure with a clear quilting ruler, not a tape. A tape stretches and its end hook moves. If the square reads 3 and 15/16 inches instead of 4, the file is not wrong: the print setting was. Say so on the page itself, in plain words, next to the square.
What the square page should carry
- A square labeled with its exact dimension in both inches and centimeters.
- A one line instruction: print at 100 percent, actual size, scaling off.
- A second reference line running the width of the page, so a partial print still shows scale.
- The pattern name and version, so a stray printed page can be identified later.
Keep reading: How should I price a PDF pattern when the tech editor costs more than the pattern earns?
Layers, alternates and whether they toggle cleanly
Layered PDFs are a genuine service to the person printing. They are also the single most common place a release breaks, because layer visibility is a property of the file, not of the artwork, and it is easy to leave a stray object on the wrong layer.
Open the file in the free Reader, not in your design software. Turn off every size except one. Walk the pages. You are looking for three things: a line that vanished when it should have stayed, a line that stayed when it should have vanished, and a notch or label that belongs to a size you turned off.
Repeat for the smallest size, the largest size, and one from the middle. Then turn on every layer at once and confirm nothing sits directly on top of something else in a way that makes both unreadable.
If you offer view alternates, a hood versus a collar, long sleeve versus short, treat each alternate as its own pass. The combination that nobody checks is the one somebody buys.
Embedded fonts and flattening before export
A font that is not embedded gets substituted at print time. The substitute has different metrics, so a size label that read 14 now reads 1 and a 4 on separate lines, or a piece name runs off the edge of the page.
In Acrobat, the document properties panel lists fonts and says whether each is embedded or embedded subset. Either is fine. A font listed without that note is a problem. Outline your text before export, or fix the embedding setting in your export dialog.
Flatten transparency as well. Drop shadows, blend modes and semi transparent fills can render as gray boxes on older RIPs, and copy shop equipment is frequently older than your laptop. If you cannot verify, avoid transparency entirely in the pattern pieces themselves. Keep the effects for the cover.
Page order, tiling marks and assembly map accuracy
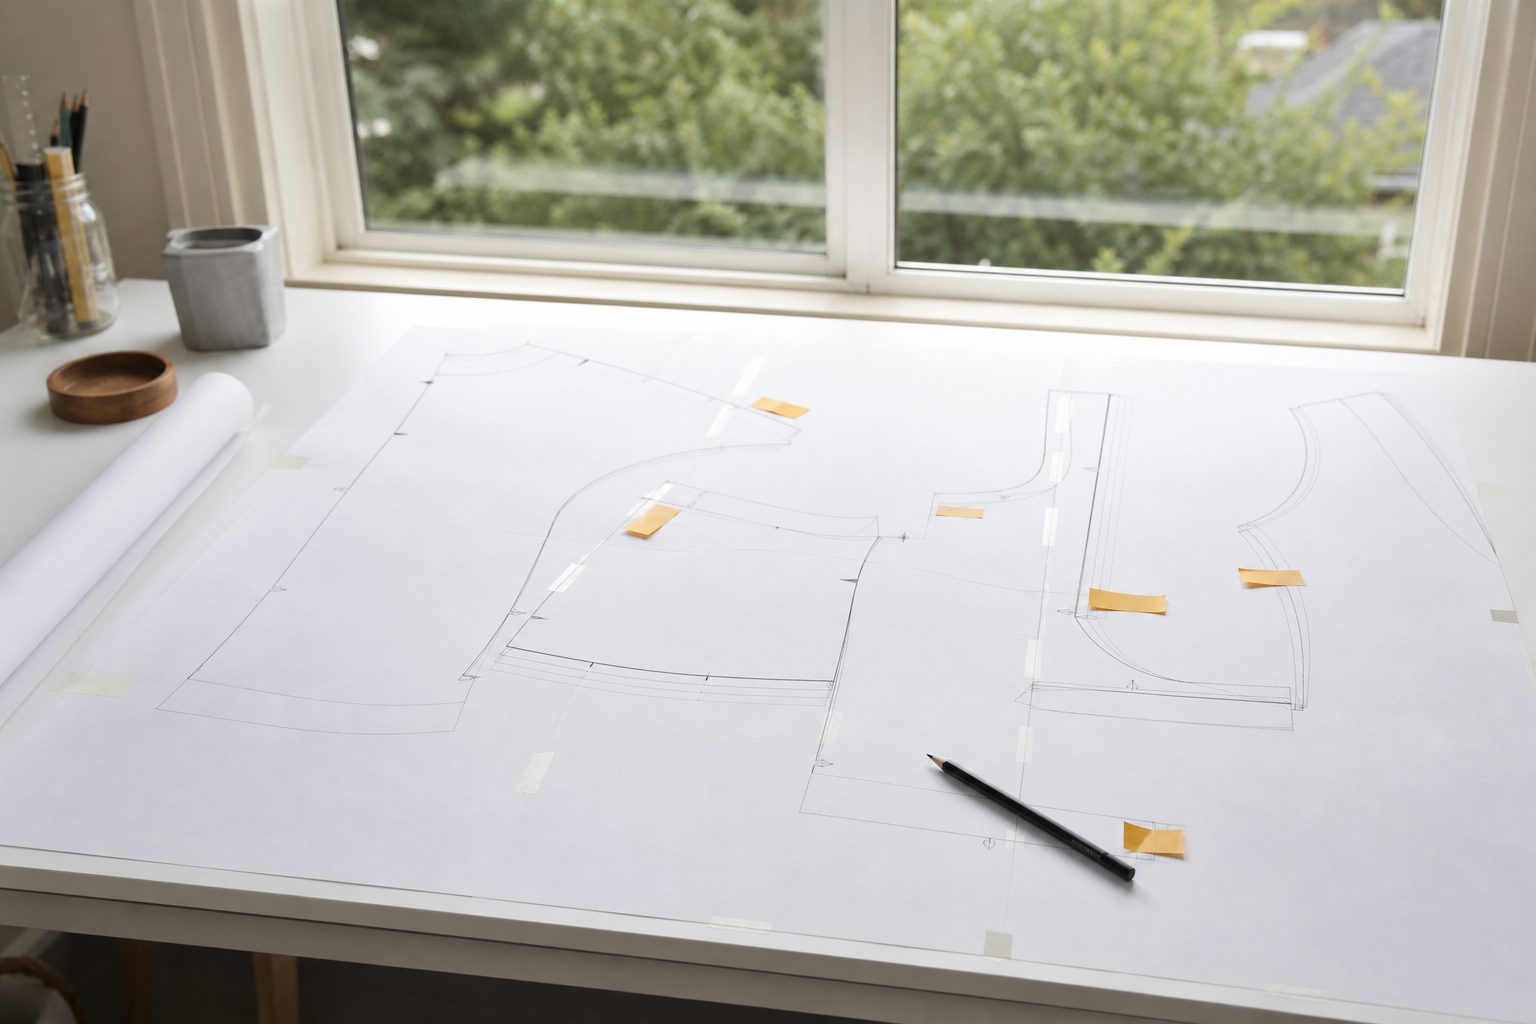
The assembly map is a diagram of a grid, and the grid has to match the file. This sounds trivial and it is where a surprising number of releases fail, usually because a page was inserted or deleted late and the map was not redrawn.
Check the map against the pages themselves. Page A1 in the map must be the page labeled A1 in the file, and its content must be the top left corner of the assembled sheet. Confirm the corner alignment marks appear on all four edges of interior pages and only on the relevant edges of border pages.
If you trim margins, state which margins get trimmed, and be consistent: trim right and bottom, or trim left and top, but never both conventions in one document. Mixed conventions cost your customer an hour and a roll of tape.
Keep reading: What does a tech editor actually do to a knitting pattern before it goes out the door?
Cut counts, grainlines and fold markings on every piece
Go piece by piece with a list. Every pattern piece needs a name, a piece number, a cut count, a fabric designation, and a grainline. If it goes on a fold, it needs a fold marking that is unambiguous.
| Marking | Common failure | Cost when missed |
|---|---|---|
| Cut count | Cut 2 on a piece that needs 2 mirrored | Two left fronts, fabric wasted |
| Grainline | Arrow present but not parallel to the true grain after a late piece rotation | Twisting garment, no obvious cause |
| Fold marking | Bracket without the word fold | Cut on the line, piece half the width |
| Interfacing | Listed in instructions, not marked on the piece | Support layer skipped entirely |
| Notches | Front and back notch counts not matching | Seams that will not align |
Notch counts deserve their own pass. Walk each seam: front side seam notches against back side seam notches, sleeve cap against armscye, waistband against skirt. Counts must match and positions must correspond. Do this on screen with a measuring tool, then again on paper.
Yardage, notions and finished measurement tables
Yardage should be derived, not estimated from memory. Lay out the graded pieces at 44 inch and 60 inch widths, for the smallest and largest sizes at minimum, and read the length off the layout. Add a margin for shrinkage and for directional prints, and say in the table that a directional or napped fabric needs more.
Finished measurements must come from the pieces themselves, not from the body measurement chart plus your intended ease. Measure the graded pattern with seam allowances removed and record what is actually there. If the intended ease was four inches and the graded piece delivers three and a half at size 16, the grade is what your customer will get.
Notions lists need quantities and dimensions: not "elastic" but "3/4 inch wide elastic, 26 to 34 inches depending on size." Not "buttons" but "five buttons, 5/8 inch."
See how StitchPattern handles this for independent sewing and knitting pattern design
Version number, date and errata contact inside the file
Put the version and date in the footer of every page, not just the cover. Pages get printed separately, get shared, and get returned to you in support emails with no context. A footer reading v1.2, March 2026 tells you in one glance whether the person is looking at the file you already corrected.
Include one line telling the reader where corrections live and how to reach you. When you do issue an errata, that line is what stops the same question arriving forty times.
Use a version scheme you can explain. Whole numbers for changes that alter the pieces or the construction, decimals for typographical and clarity fixes. Keep a running change log, even a plain text one, listing what changed in each version and on what date.
A final print, tape and walk through of the whole pattern
Print the entire pattern at home, tape it, cut one size in cheap fabric or paper, and read the instructions in order while you do it. This takes an afternoon. It catches things no screen check will: a step that references a piece you have not been told to cut yet, an illustration showing the seam allowance on the wrong side, a numbered step that jumps from 7 to 9.
Read the instructions out loud if you can stand it. Your eye repairs your own sentences silently. Your ear does not.
Then walk the seams on the taped copy with a tape measure: seam length against seam length, all the way through the garment. Discrepancies under an eighth of an inch are usually fine. Anything above a quarter inch on a straight seam needs an explanation before you sell it.
Making the checklist survive the release
The checklist only works if it is the same checklist every time and if the results are written down somewhere other than your memory. After the second release you will not recall whether you checked the layer toggle on the sleeve alternate, and you will check it again or, worse, assume you did.
StitchPattern is built for exactly this stretch of the work: run the tester round with corrections logged against specific pattern pieces and page numbers, stamp the version on the file that goes out, and when a correction does surface after launch, push the errata to everyone who already bought the pattern instead of hoping they read the newsletter. Start your next release inside it and the checklist stops being a thing you remember and becomes a thing the release cannot skip.